Carver Banjos: Instruments Handmade by You and Me › Forums › Building Banjos › Celebrating 20 years with a special kit
- This topic has 25 replies, 5 voices, and was last updated 1 year, 7 months ago by
Carver Banjos.
-
AuthorPosts
-
June 14, 2024 at 1:50 pm #5420
Carver Banjos
KeymasterI’ve been building banjos since I was 16 years old. I stumbled upon the banjo kit idea about 10 years later and that’s when things really took off and I realized I could make a career out of banjos.
So, 20 years making banjos, 10 years making banjo kits and 12+ years with this dedicated website.
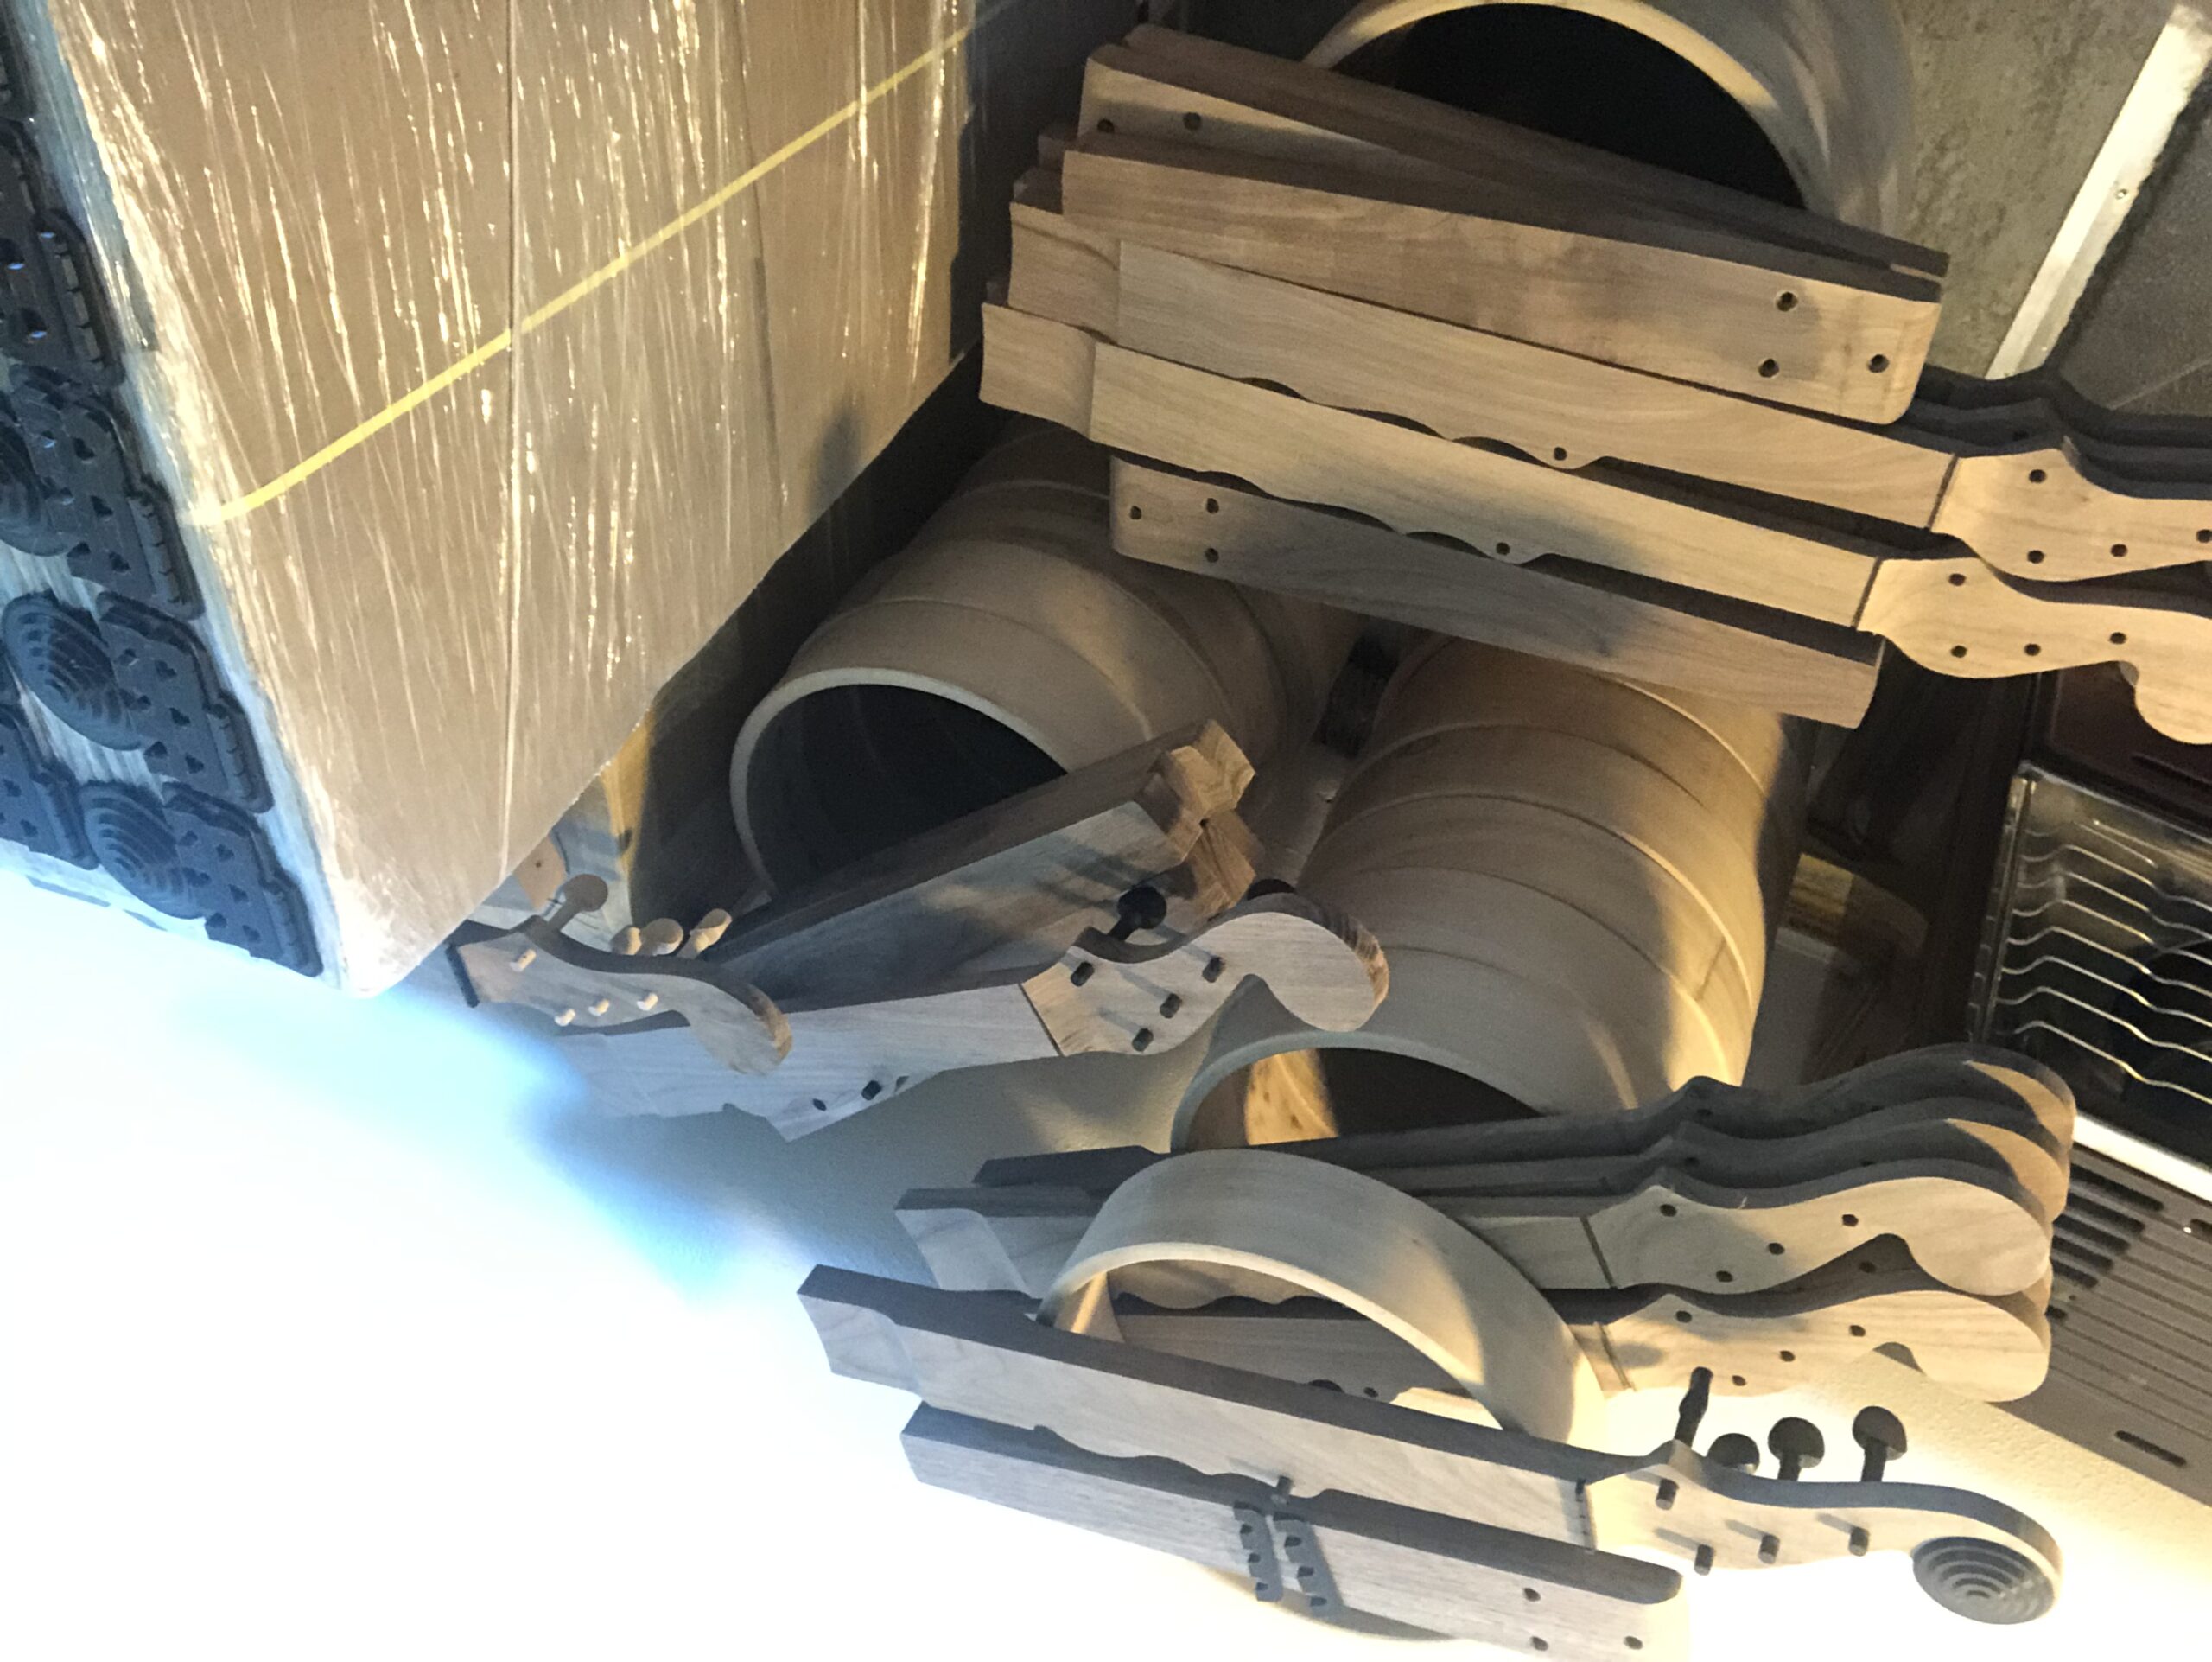
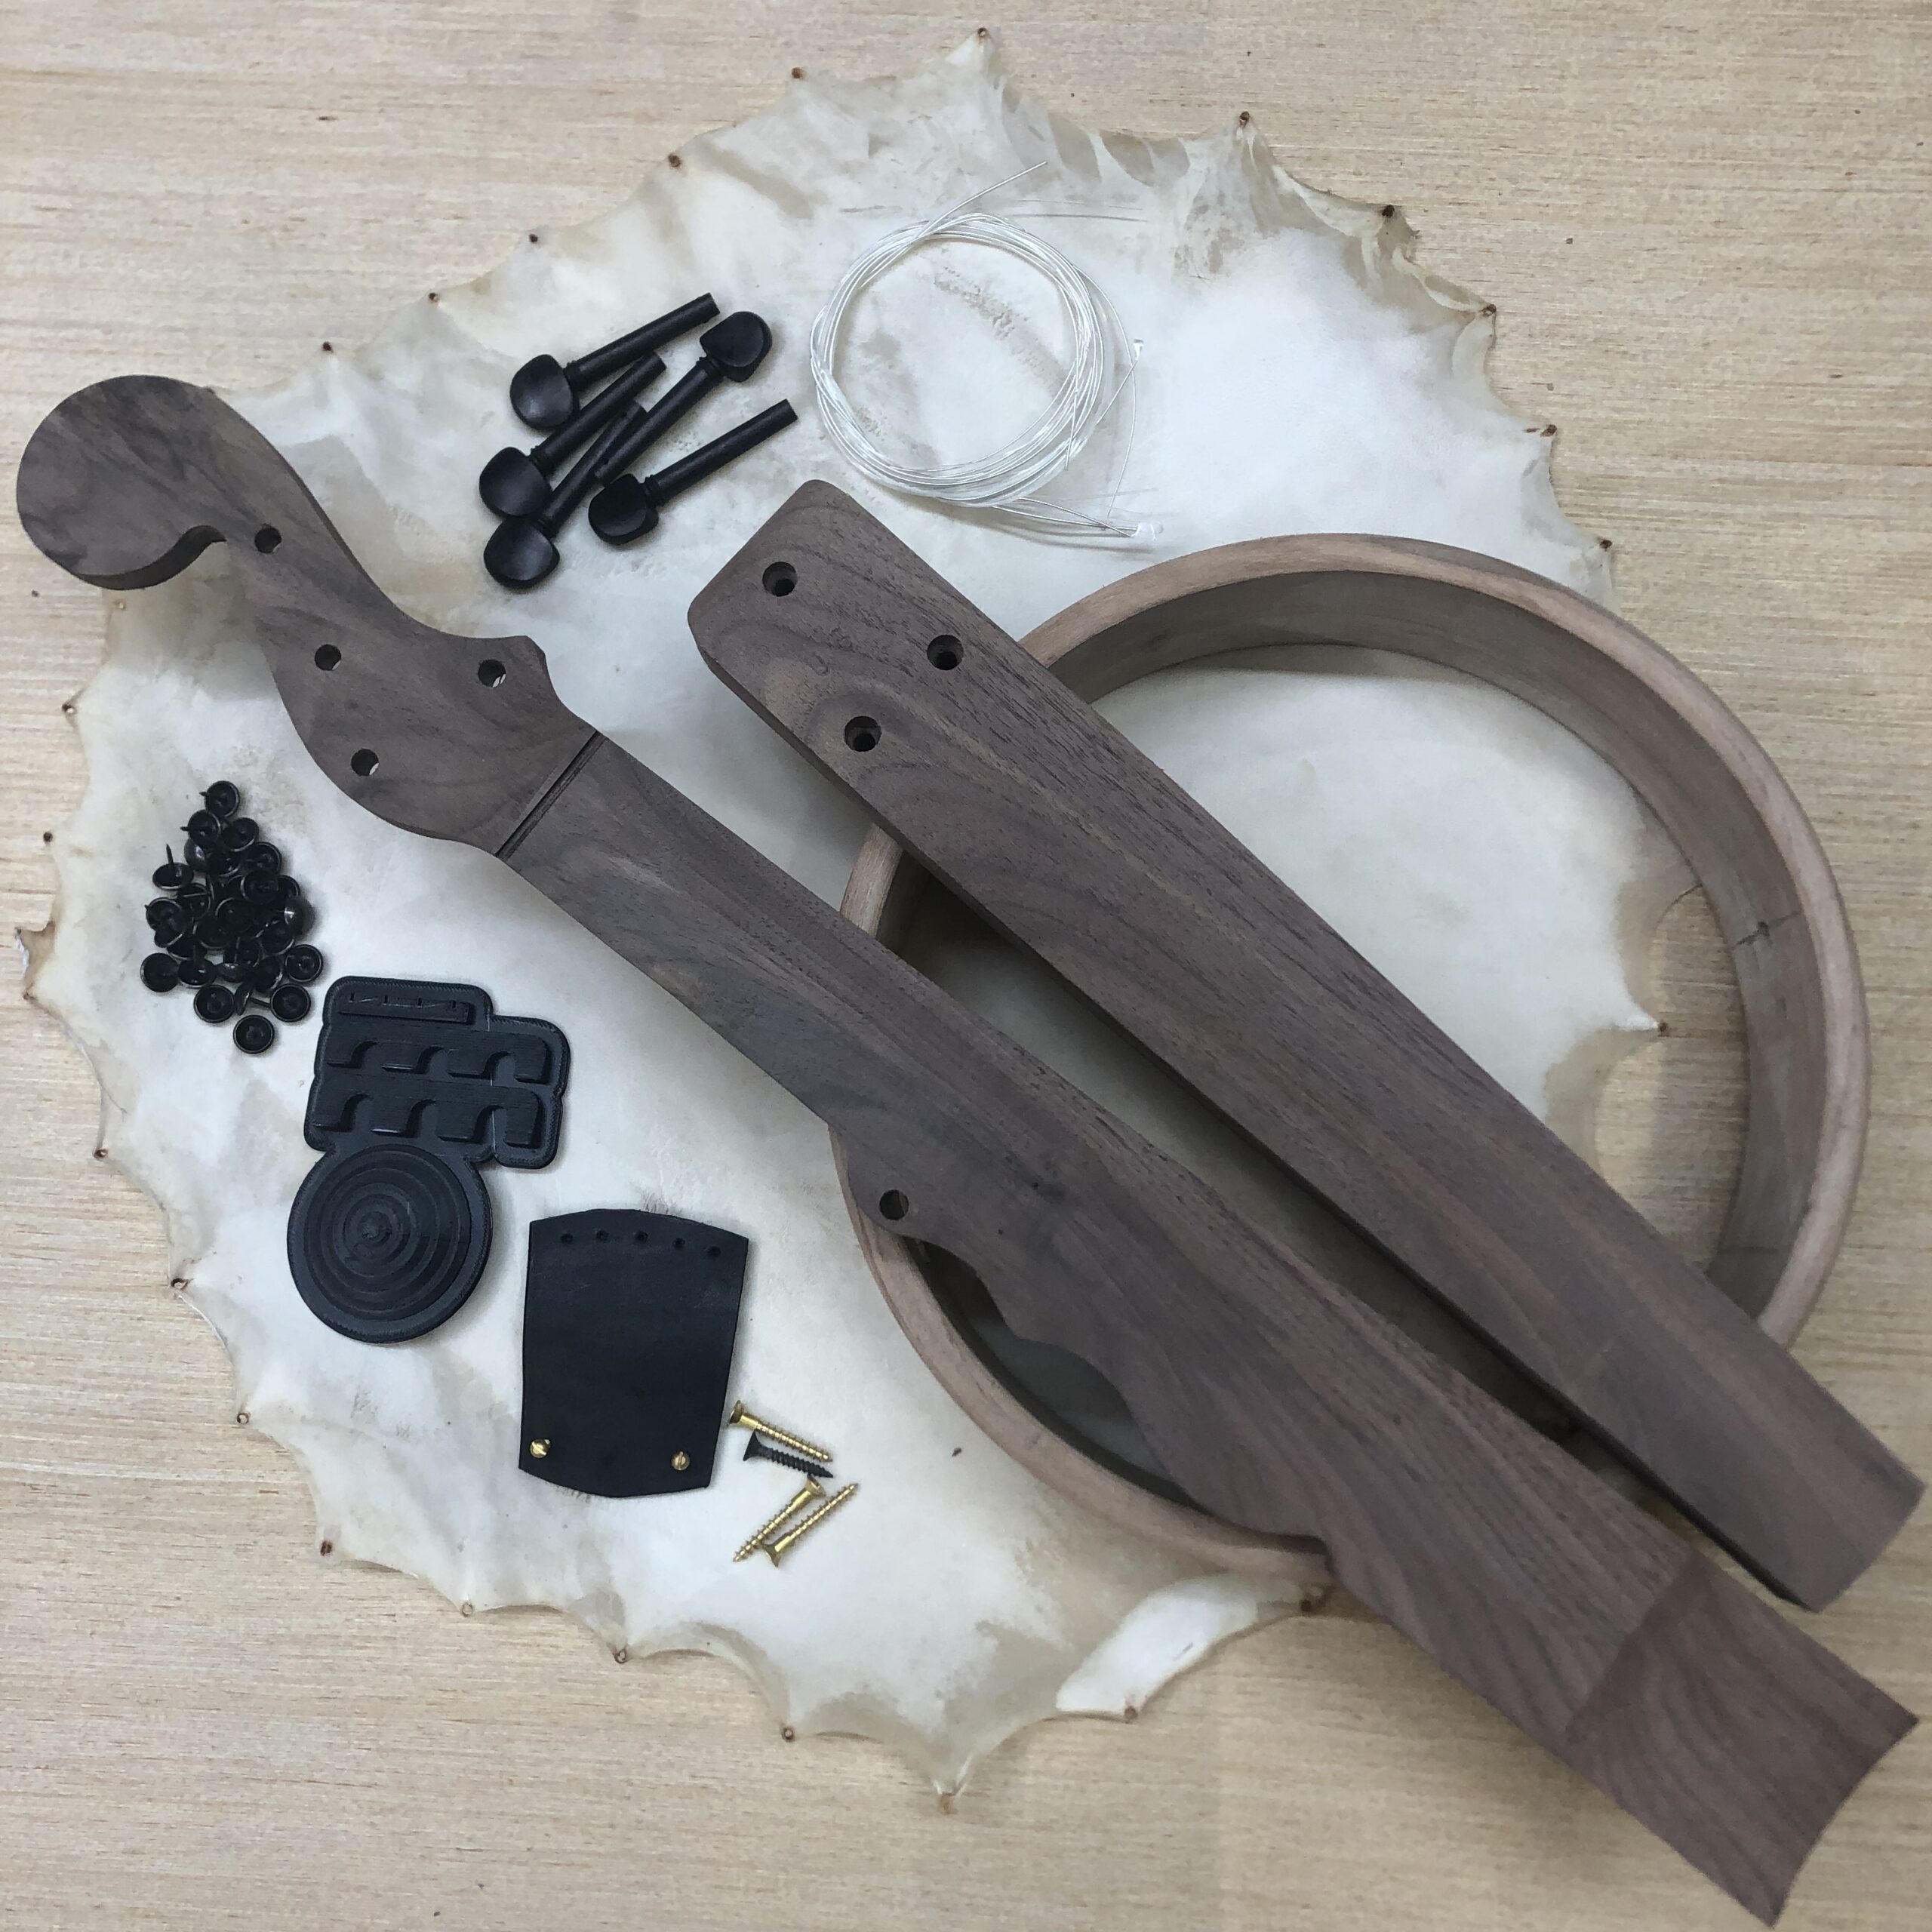
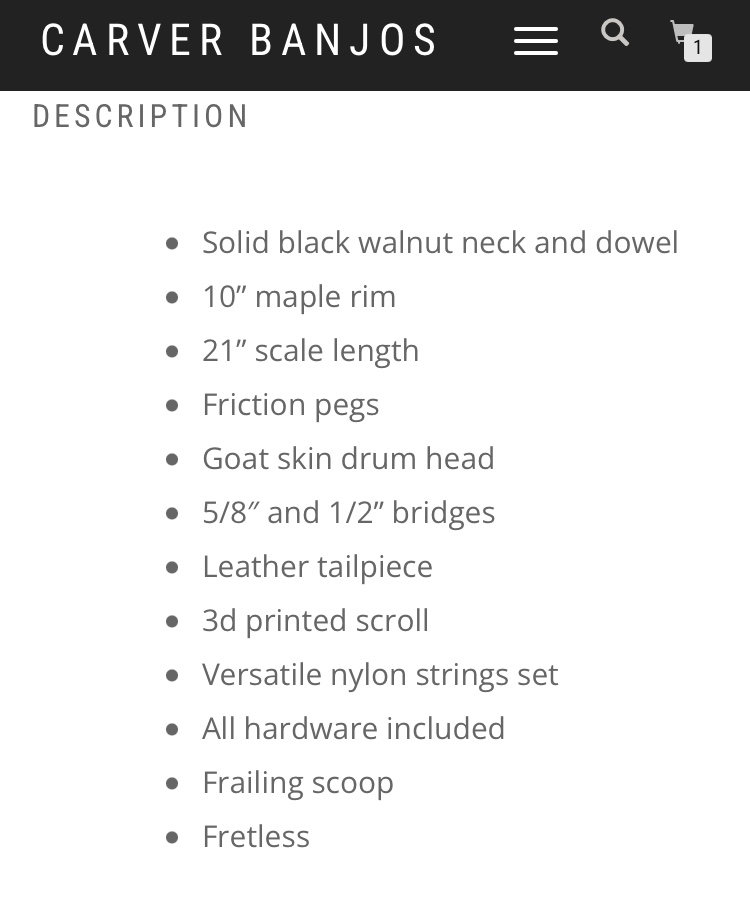
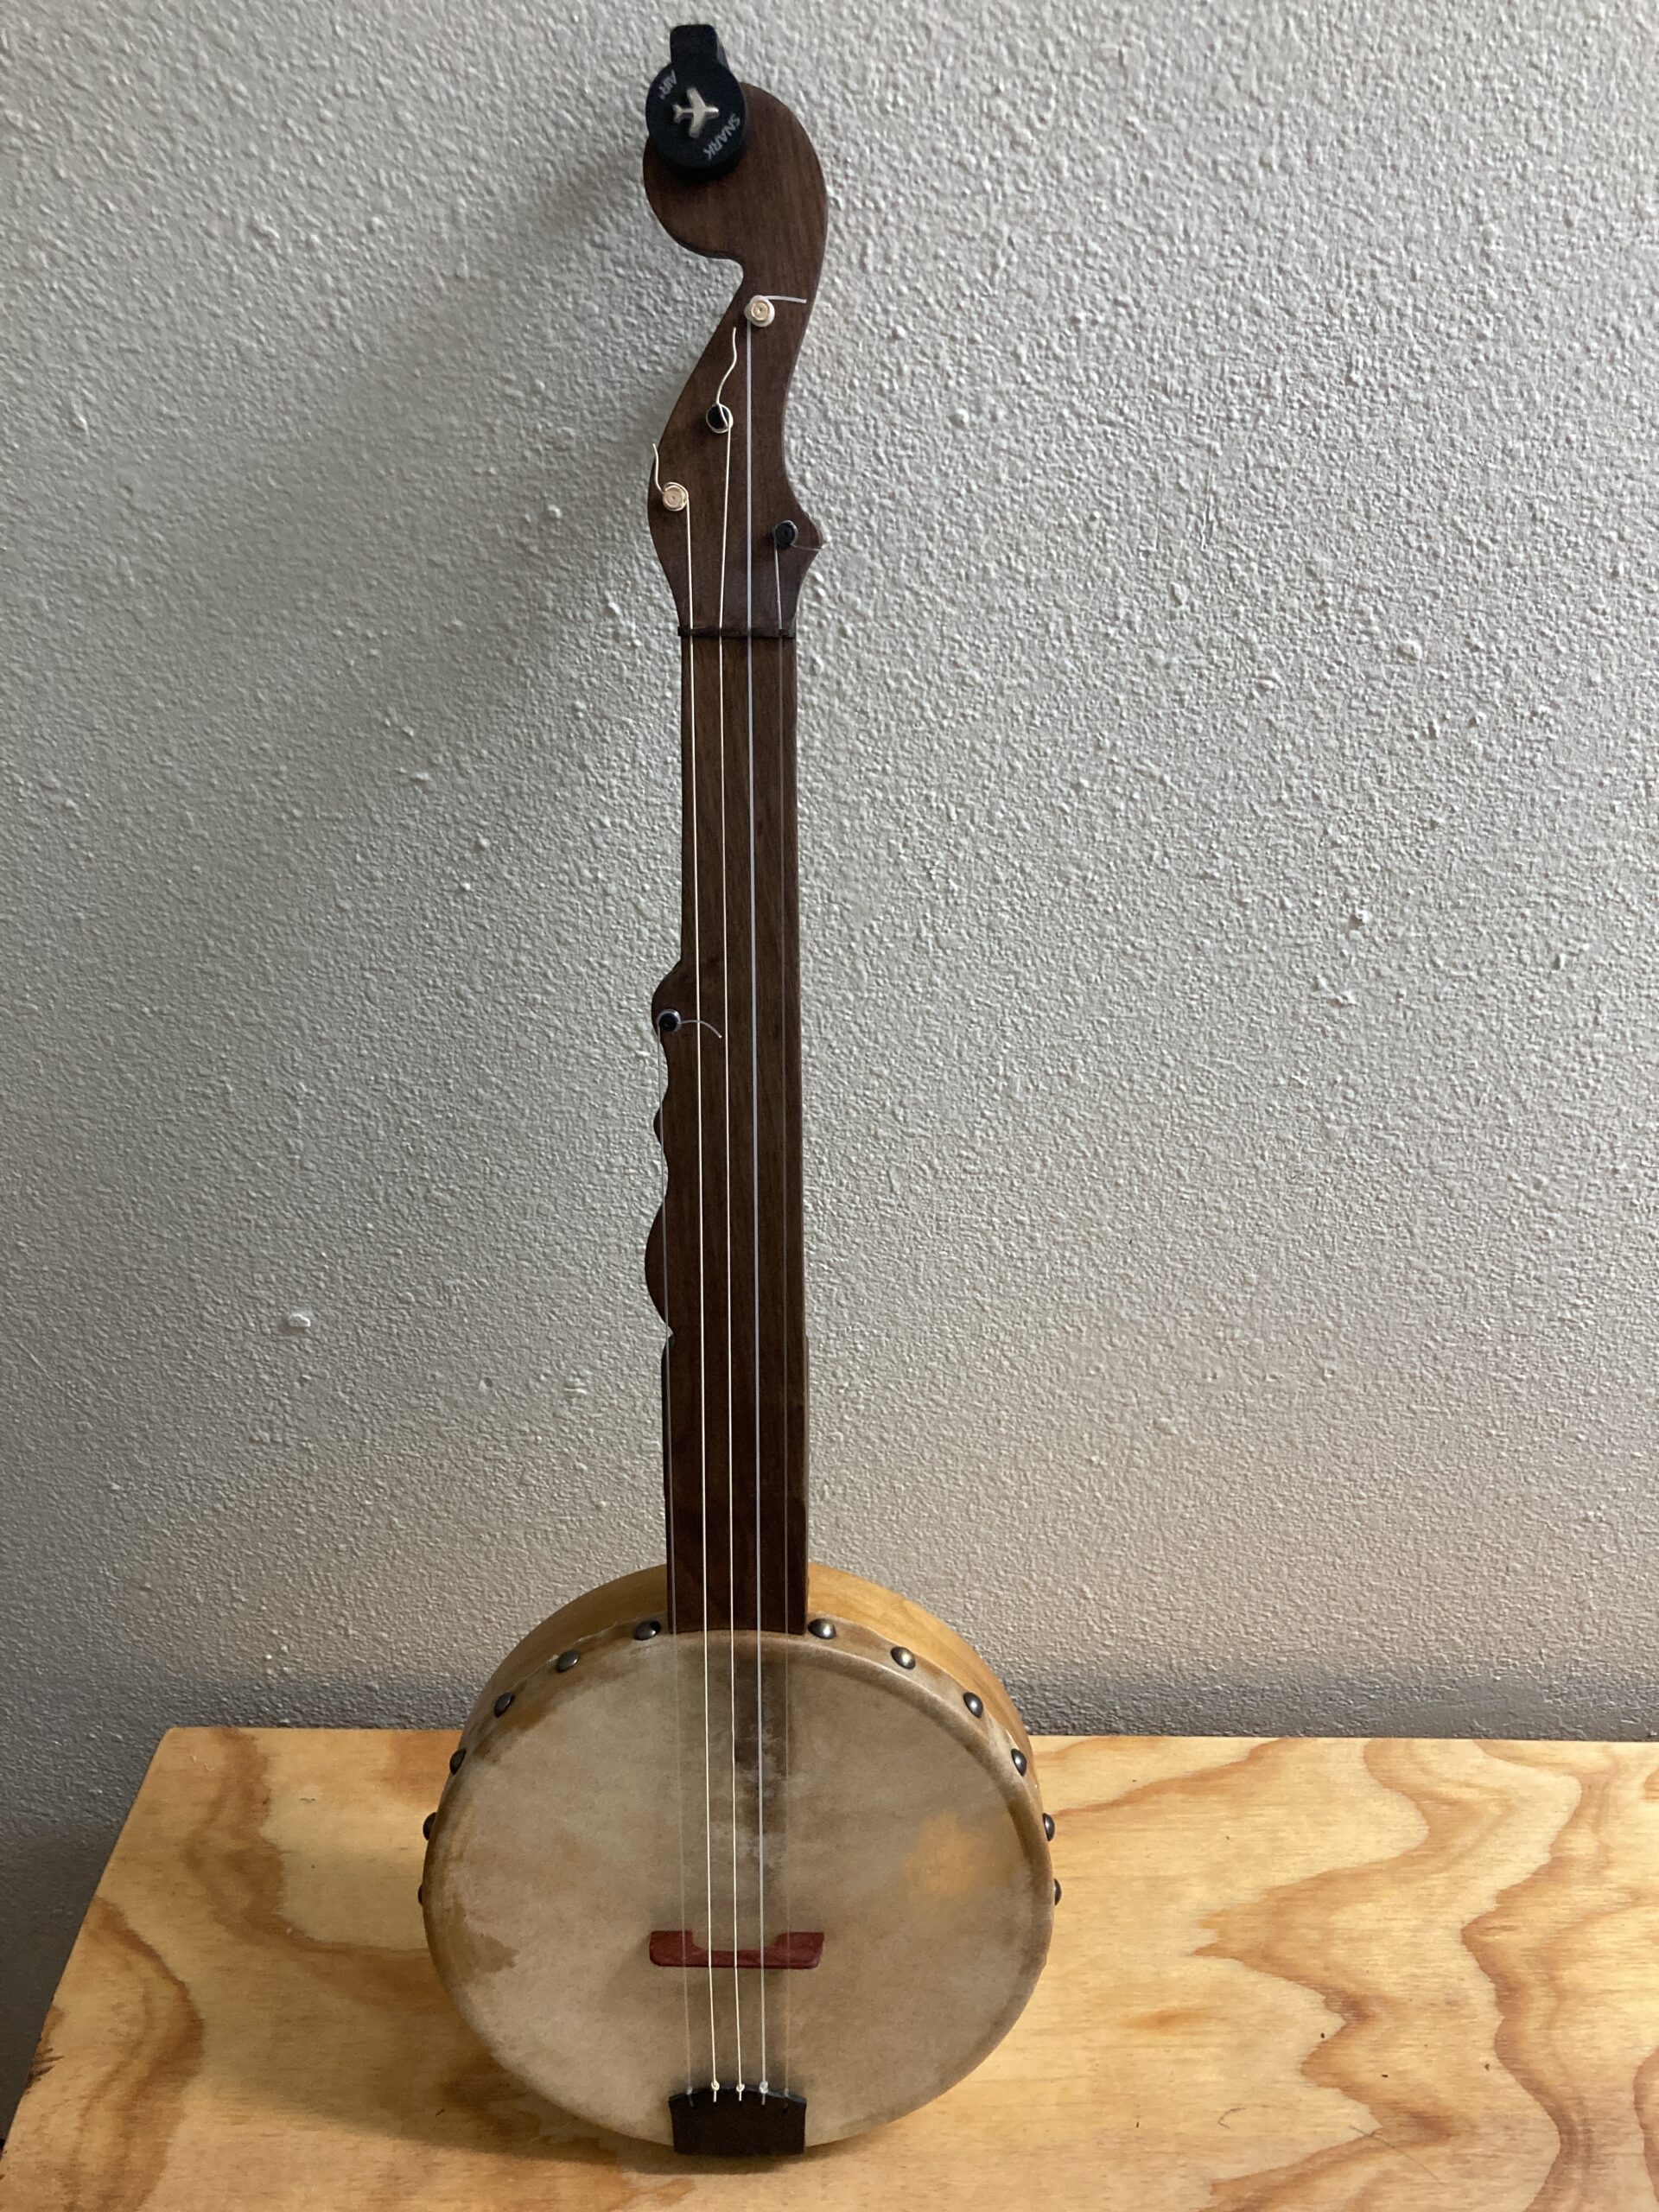
I am preparing a batch of 20 special minstrel kits that will be selling for $150 each. I want to give some a chance to get a high quality kit at the lowest price possible. I chose to use an old template for the necks- it’s the same neck I started out with about 10 years ago. I’ve added some 3d printed parts- nut, bridges and a peghead scroll.
Scale length is 21”, rim is 10”.
Will post up for sale on 6/17. Thank you everyone for your support over the years.Attachments:
June 18, 2024 at 1:56 pm #5457KeymasterThe kits have sold out in under 24 hours! Thank you everyone. I will be processing those orders over the next couple weeks, thank you for your patience.
I will be moving information from the sales page to this thread: assembly instructions and videos etc.
Someone commented on the YouTube video that they feel like they got the golden ticket in Willy Wonka and I thought that was pretty funny. I’d love to be thought of as the Willy wonka of the banjo world haha. Alright, check back here, I’ll have all the info up by the time these kits are shipping out.
-BrianAttachments:
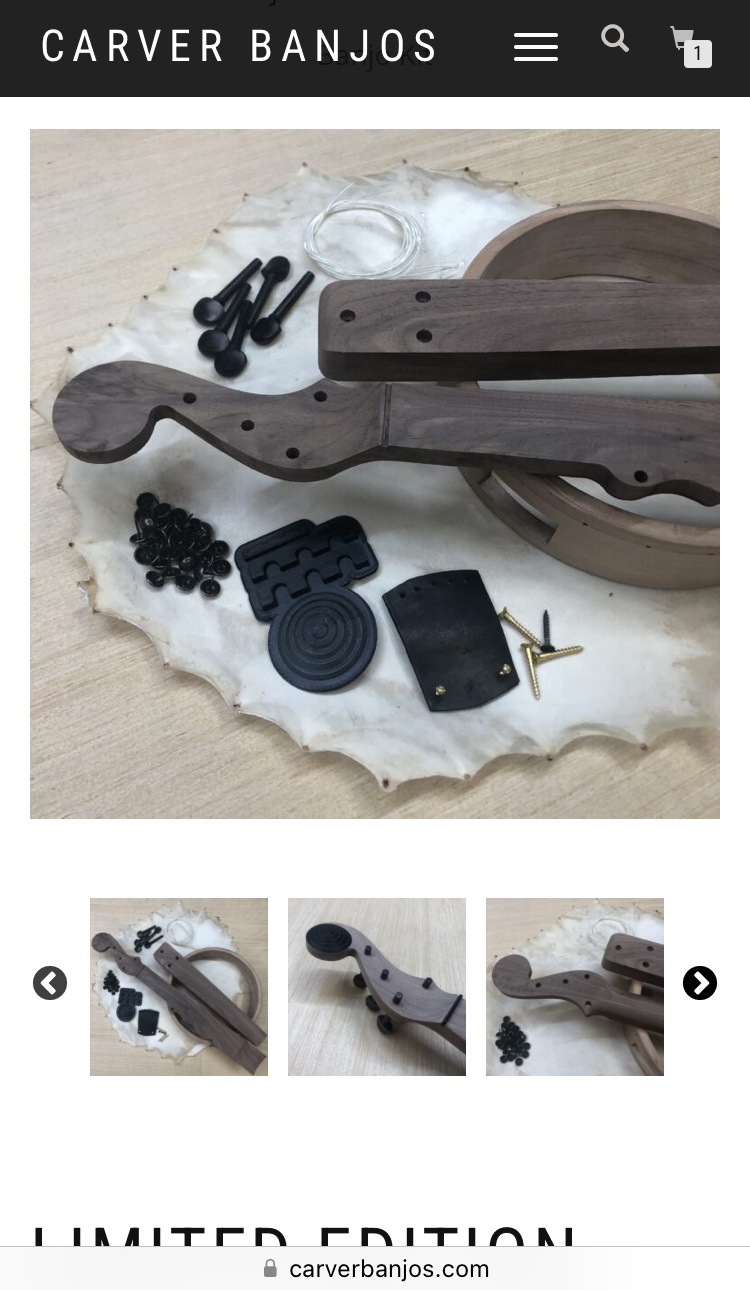
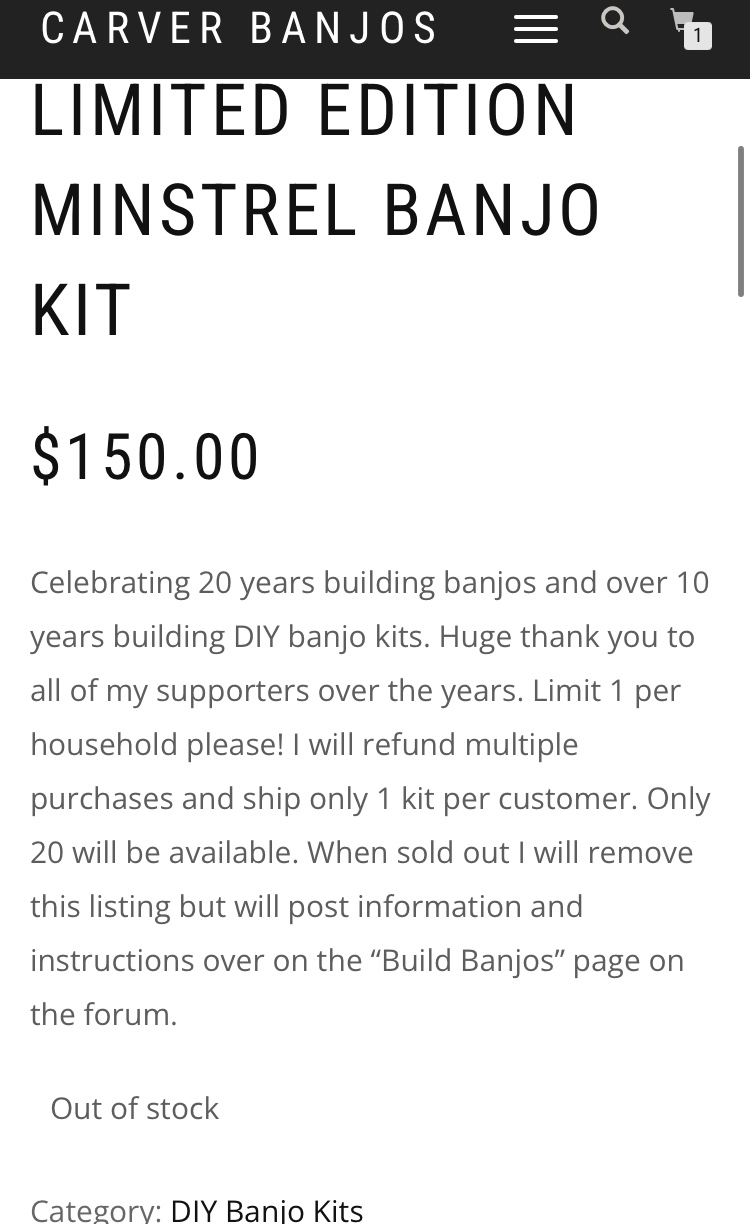
June 19, 2024 at 2:37 pm #5459KeymasterScreenshots of the original listing attached.
Attachments:
June 19, 2024 at 2:38 pm #5463KeymasterOriginal video here:
June 20, 2024 at 6:25 pm #5466matworsh
ParticipantSo awesome that you did this for the community. Would you be willing to tell me the dimensions of the 3d printed nut? If not that is understandable, I was just wanting to get a bone nut to put into this since I plan to make this my go to banjo and wanted something to complement the awesome craftsmanship of your kits. Thanks again and can’t wait to build the kit and play!
June 21, 2024 at 12:50 pm #5469KeymasterThank you for your order! I don’t have the dimensions off hand but the nut is non standard in every aspect so you’ll have to make one from scratch if you go that route, use the 3d printed nut for reference.
June 24, 2024 at 2:31 pm #5480ParticipantCool cool, thanks I will do that!
July 4, 2024 at 1:04 pm #5508KeymasterUpdate: these kits will begin shipping out on Monday the 8th. I hope to have every order shipped by the following Friday.
Will be posting videos and assembly tips here throughout next week.
Thank you everyoneJuly 12, 2024 at 3:12 pm #5521Keymaster16 of 20 orders have now shipped. The first batch should be arriving today. I will ship the remaining 4 orders tomorrow. I am going to work through the emails this afternoon to get tracking to everyone.
Thank you for your patience with this special kit. I underestimated the time it would take to get all of these out and I realize we are approaching one month since they went up for sale.
I will continue to update this thread with some assembly videos over this weekend.July 13, 2024 at 3:55 pm #5522KeymasterAll kits have been shipped. All tracking numbers have been emailed to the email address you entered when purchasing, please check that email!
Thank you everyone for your support and patience. This was a fun experiment and fun way to celebrate. I will probably never offer these kits again at this price but I am considering selling another run of them closer to Christmas this year.
I will post some videos and assembly tips here tomorrow, so check back.July 14, 2024 at 5:10 am #5523Jordan Smith
ParticipantI opened up mine today and it looks great. Thanks for doing this a Brian. I’m looking forward to getting it put together!
July 15, 2024 at 4:40 pm #5526KeymasterJuly 15, 2024 at 4:59 pm #5527KeymasterJuly 15, 2024 at 5:00 pm #5528KeymasterJuly 15, 2024 at 5:02 pm #5529KeymasterTalking about the strings at the 25:00 mark
July 15, 2024 at 5:02 pm #5530KeymasterThank you Jordan, hope you enjoy it!
July 15, 2024 at 5:04 pm #5531KeymasterAny other questions about the kits? Just post here and I will answer promptly. I’d prefer to answer questions about this kit here in this thread than through email because your question might help another customer out too.
July 19, 2024 at 4:51 pm #5535ParticipantJust finished my build. Very easy and straightforward using the videos provided. The only tips I have is if you do cut the tacks down a bit make sure you cut at an angle because if you cut the tip flat off they are much harder to start with your thumb and if you are using the cello string set you will definitely have to make the slots larger for both the bridge and nut but both were very easy to do as well with just some sand paper and a heated paper clip like Brian suggested in one of the videos. Super happy with it and can’t wait to play it more!
Attachments:
July 20, 2024 at 1:32 am #5537KeymasterAwesome! Would love to hear it with that low string set. You did a great job, thank you for sharing
July 22, 2024 at 6:12 am #5543Ian Wettenhall
ParticipantLooking forward to building mine…postman due any day now yay!
Attachments:
August 4, 2024 at 8:41 pm #5598ParticipantI got mine all put together but I didn’t have the head on tight enough and the bridge sunk in enough to be a problem. I just took the pins out. Any advice besides pull tighter and criss cross when putting the pins in?
August 6, 2024 at 3:23 pm #5604KeymasterHi Jordan, if you are still having problems with the skin email me carverbanjos@gmail.com and I can help you with a replacement.
Tips for skin
-watch and rewatch the video I have posted above on attaching a skin to a rim
– pull tight but you should not be straining yourself, the power you need to use is about what it takes to lift up a gallon of milk.
-soak the skin in cool water for at least 30 mins, when ready just pat it dry enough to not be dripping water everywhere.
-always use a line of waterproof wood glue along the top lip before placing the skin. If you varnished the rim you must sand off the finish along the top lip before applying the glue. Using glue is absolutely critical to keeping the skin tight for the life of your banjo.
-the first 4 tacks are the most important and will be placed at 12 o’clock then 6 o’clock, 3 o’clock then 9 o’clock.
Every tack placed after that should repeat that pattern and focus on pulling the wrinkles out with each tack and getting a good even tension on the skin.
-you will have a good hour to work with the skin, don’t rush, don’t worry about it drying out before you get it attached. Take your time.
-allow the skin to dry naturally for at least 12 hours before putting the strings on.
-care for the skin and banjo, don’t leave it in a hot car. Don’t lay it next to a heater vent in your home. Skin tension will fluctuate with humidity but as long as it’s gradual and natural it’s not going to shock your banjoAugust 12, 2024 at 1:14 am #5614guitango
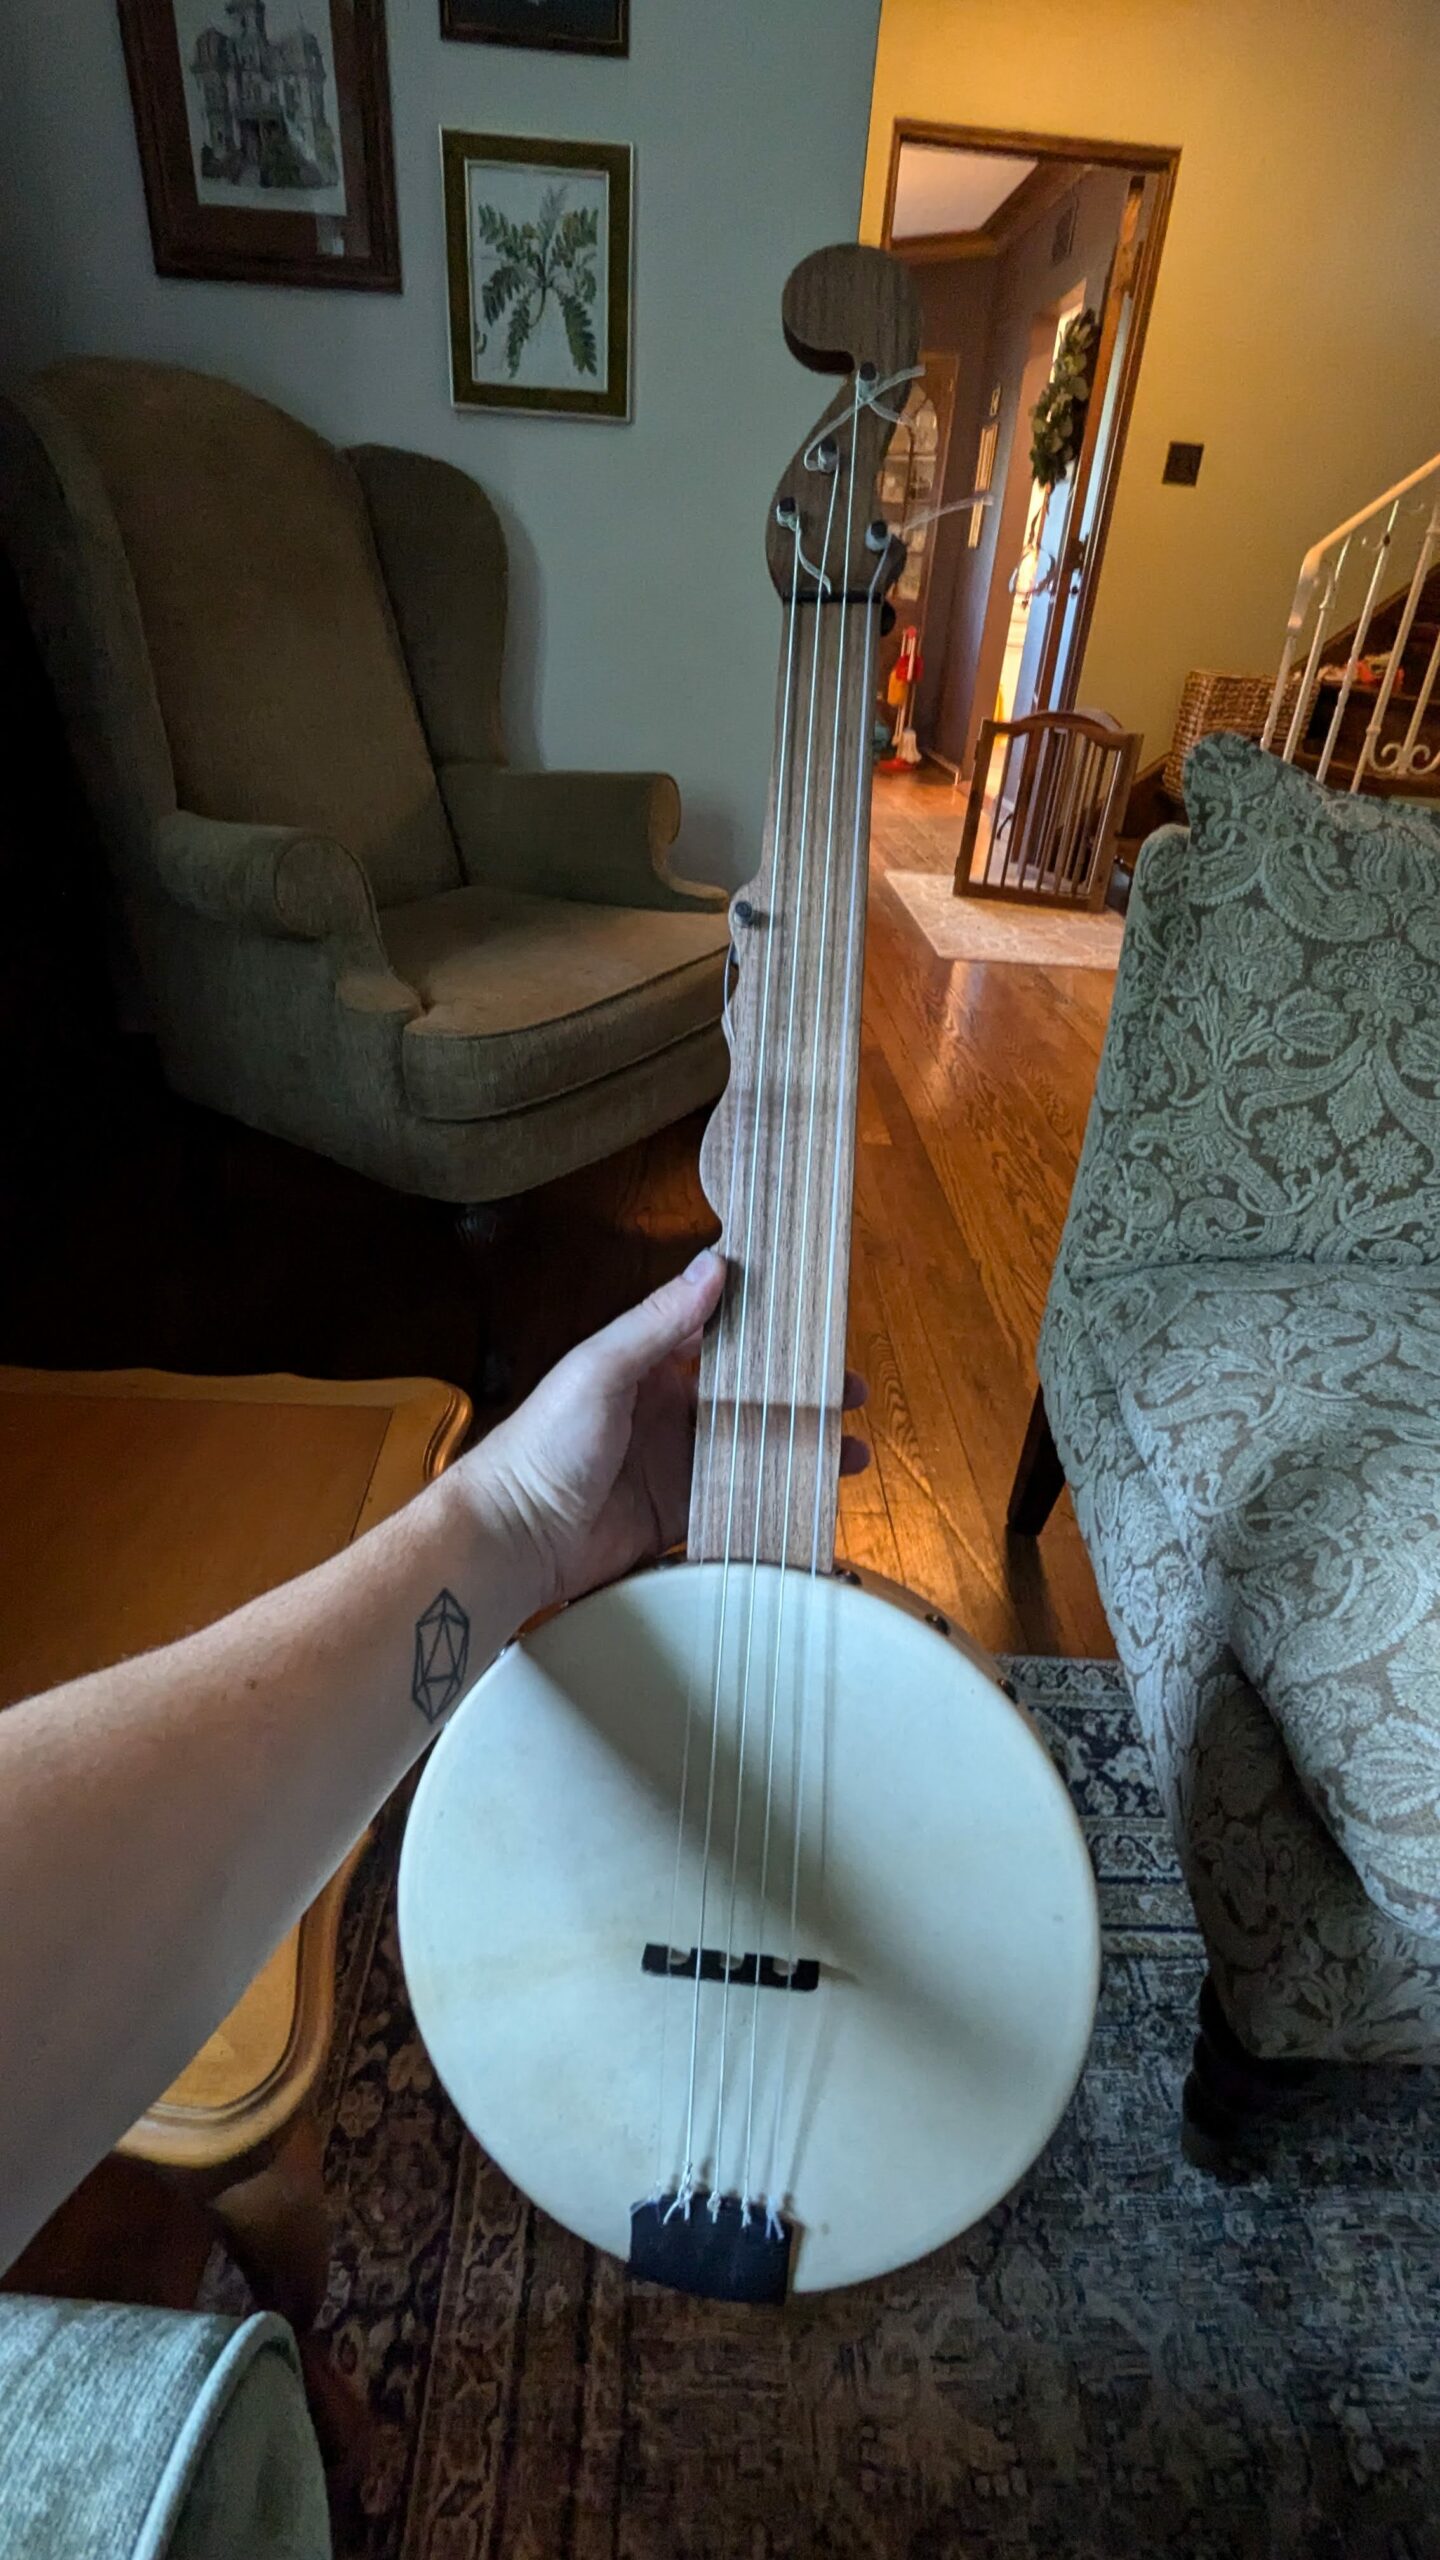
ParticipantI am in love with my special 20 year kit build. The sound and playability has me pretty captivated and I pretty much have to play it non stop. Thanks Mr. Carver.
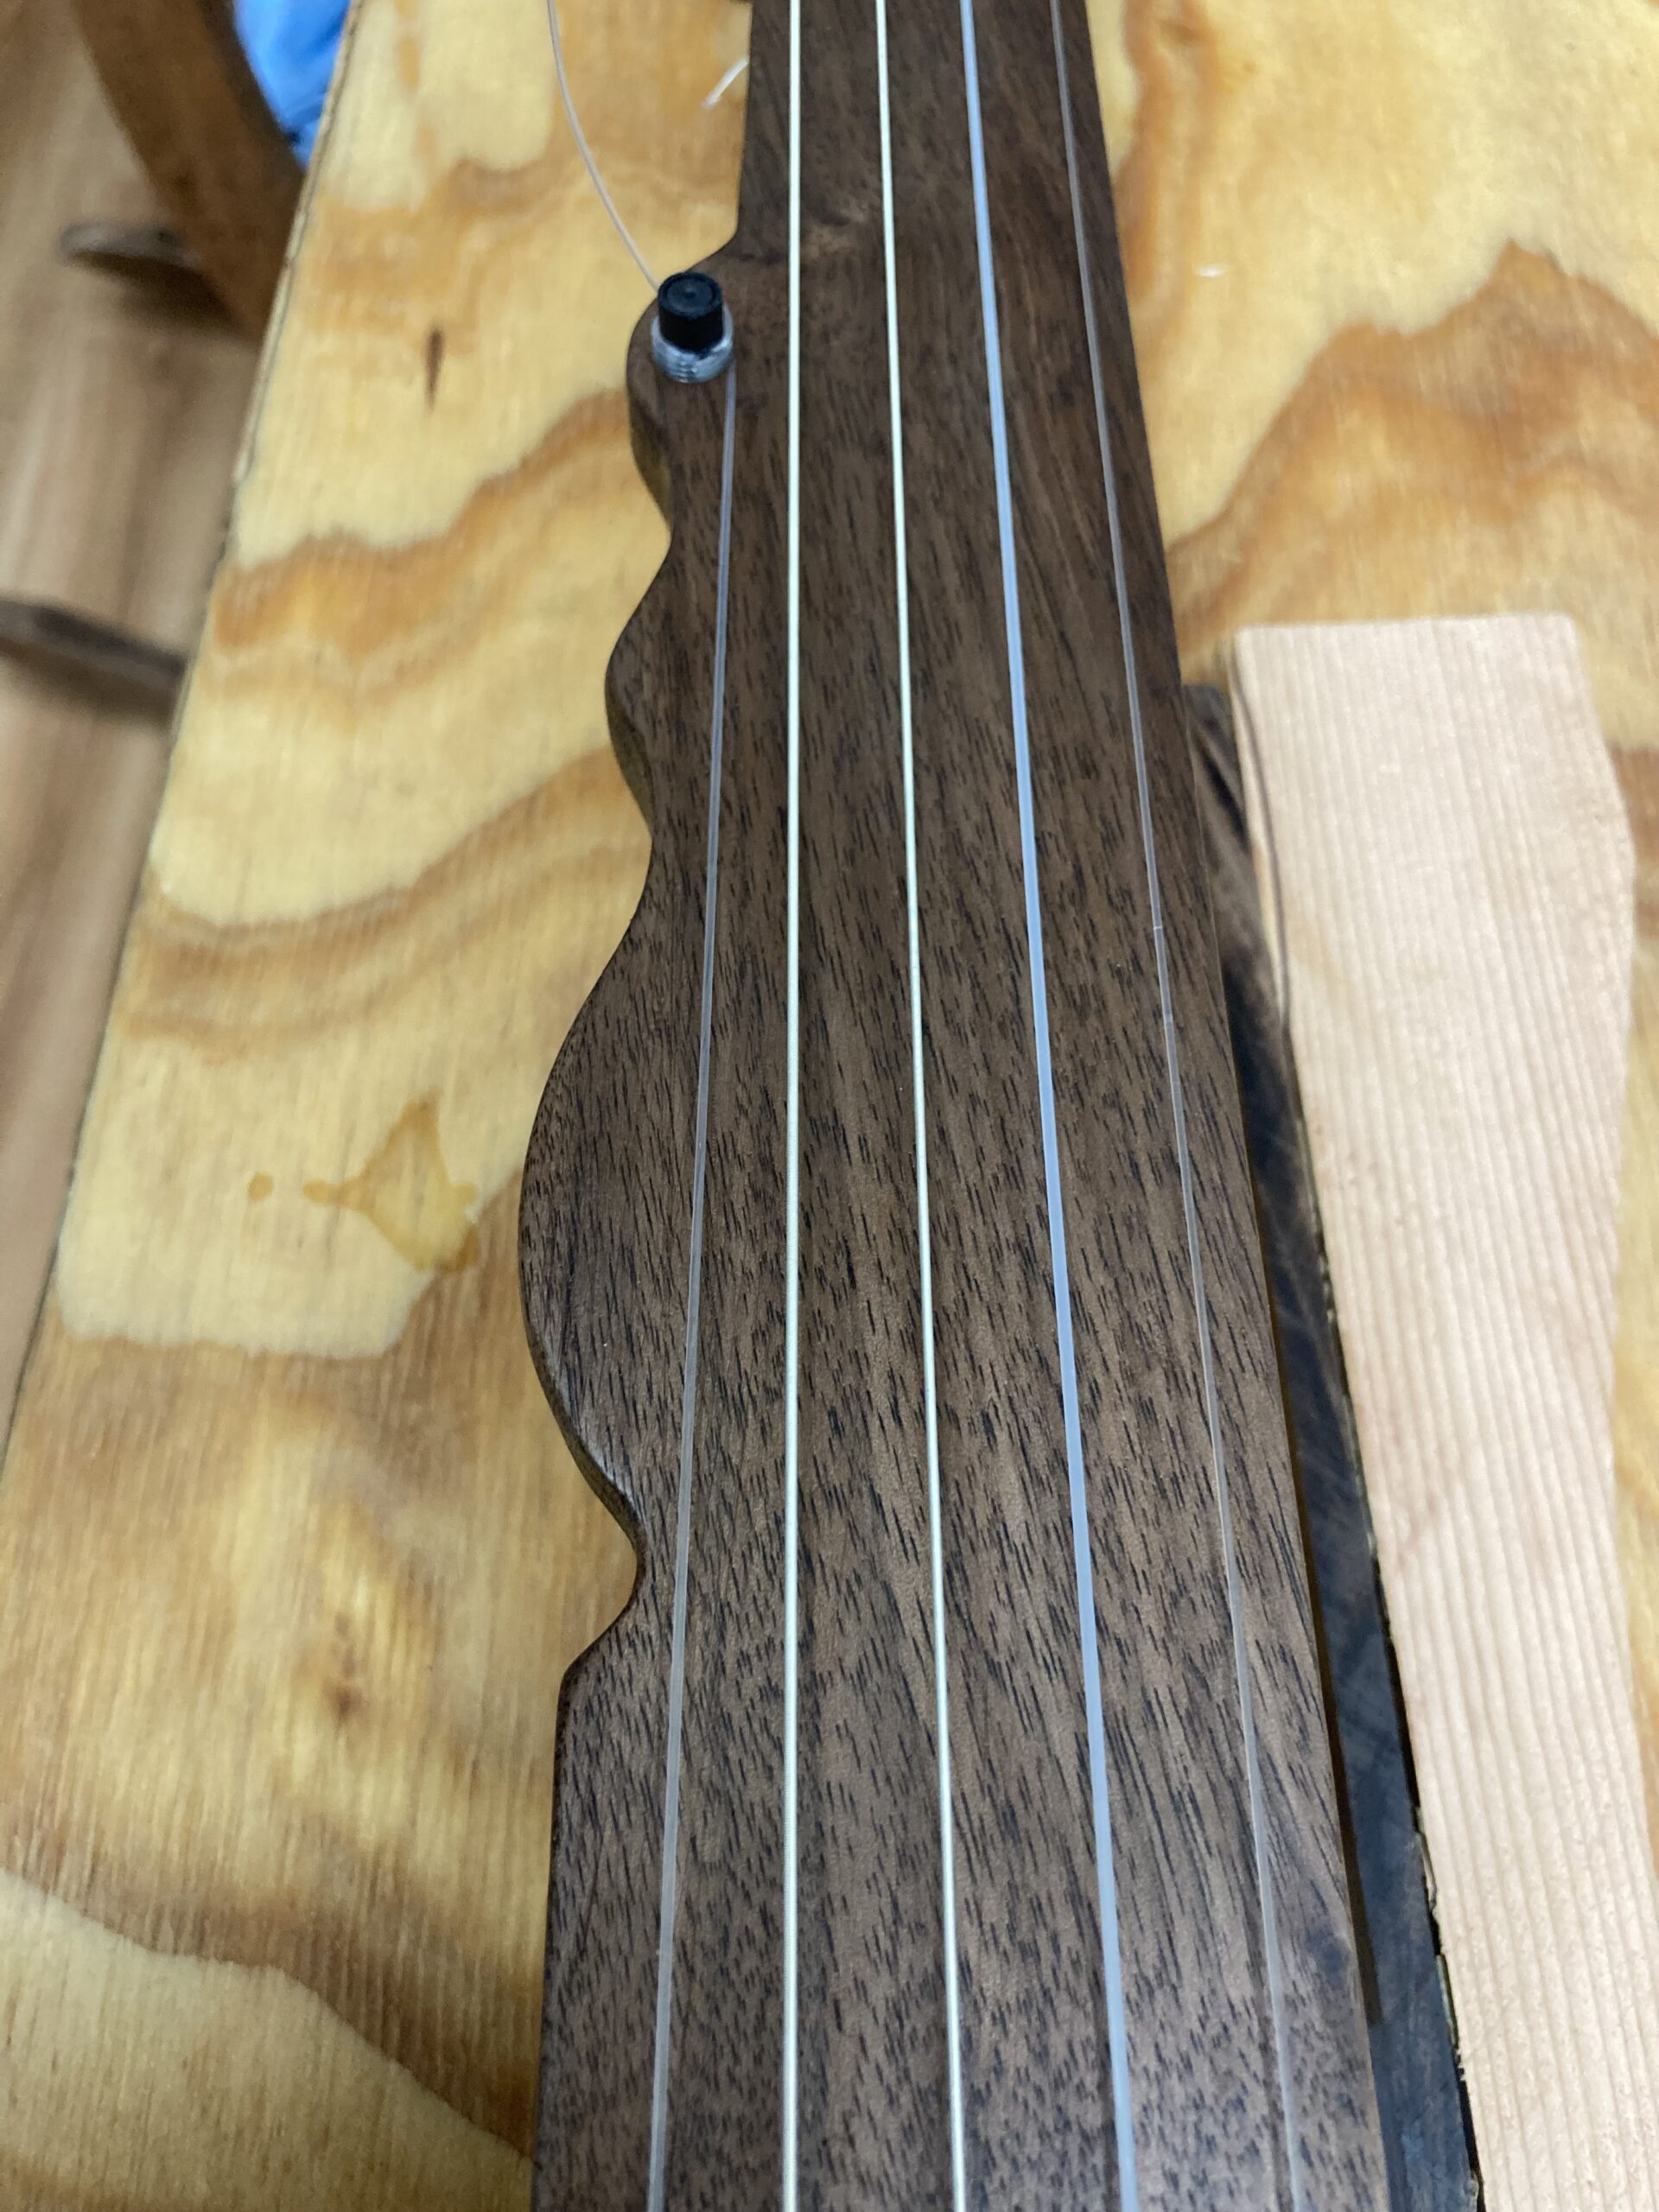
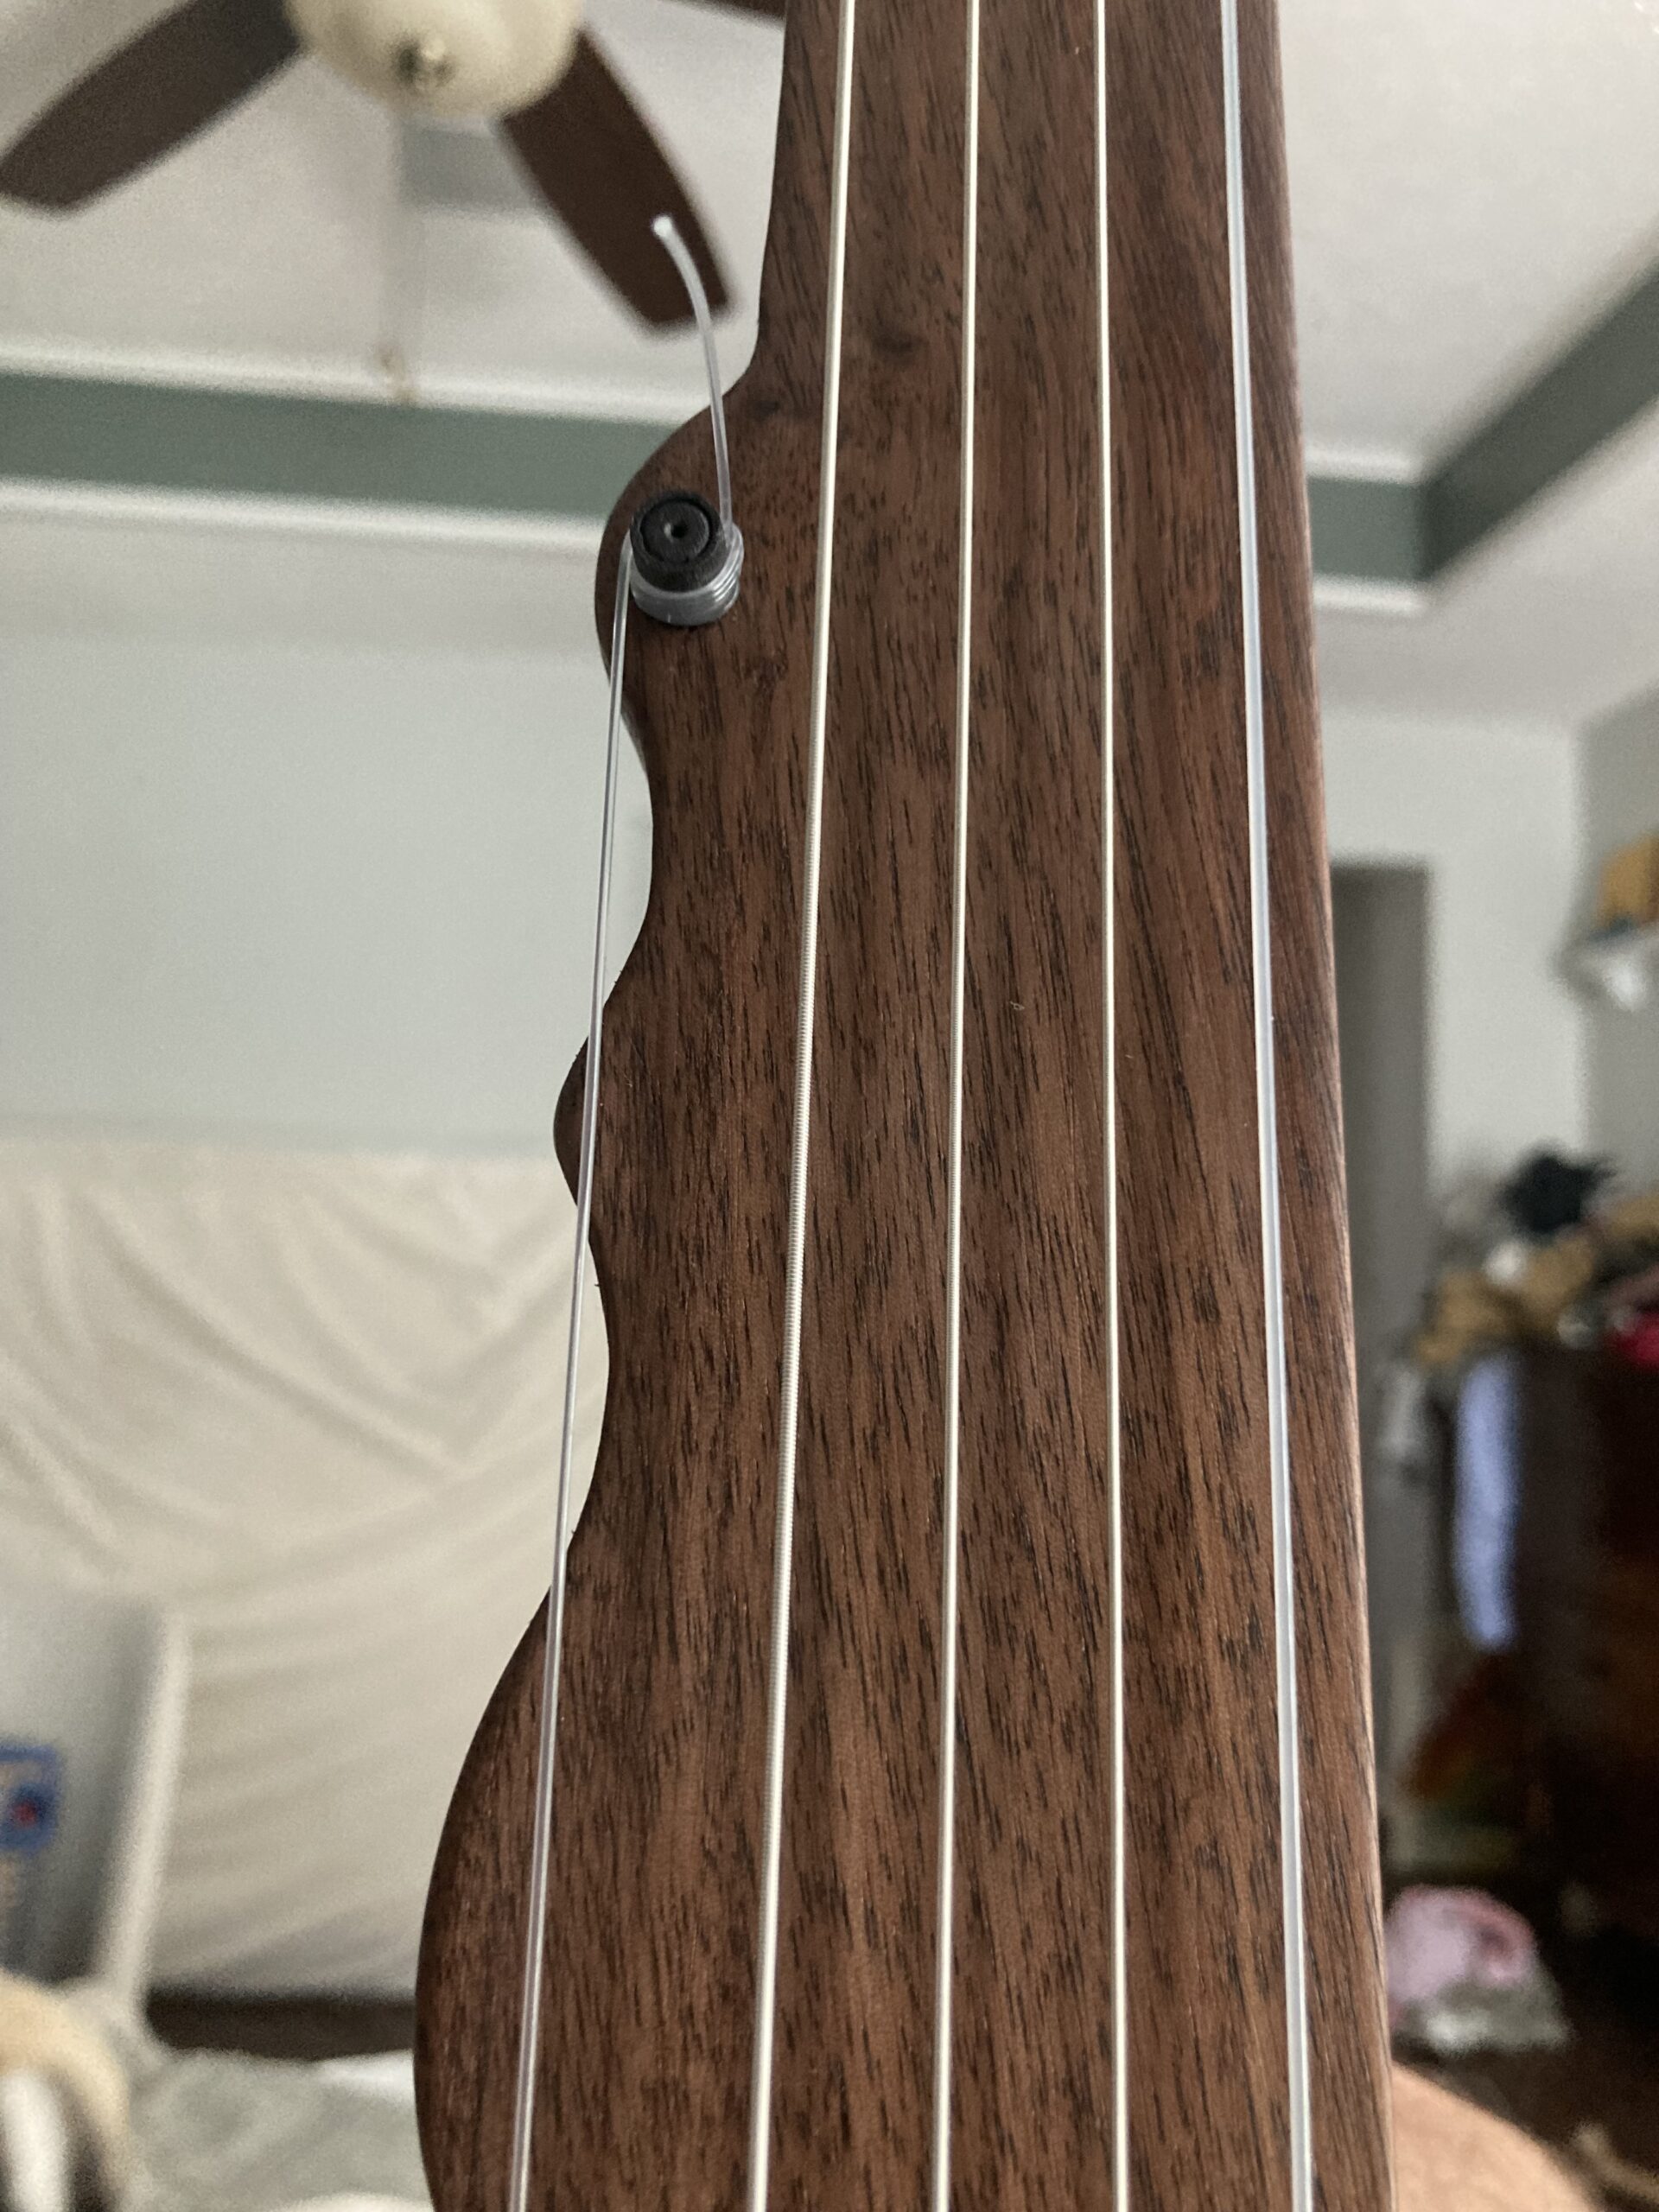
One minor issue with my kit is the alignment of the 5th string. It is unlike my friends build in that when I wrap the string on the inside of the peg it is unevenly spaced too close to the 4th string, and on the outer side of the peg it is unevenly spaced away from the 4th string and hangs off the neck in the curves of the ogees. Not a huge deal as I wind it on the outer of the peg. Perhaps its the spacing or maybe just my preference for a peg that comes out parallel to the finger board and just a small pip that doesn’t get in the way of fretting the 5th fret on the 4th string. Either way, as I said I am floored by the instrument. I have made a Wenge nut and padouk bridge and it is just beautiful.
Thanks again.
August 13, 2024 at 3:30 pm #5618KeymasterHi Guitango, I’m happy to see you’re kit out together and I’m glad you are enjoying it!
For the fifth string alignment, there could be a few causes and a few fixes.
First, the peg hole might have been drilled slightly inside of where it should ideally belong. That would be my fault, it happens and hey, $150 kit as opposed to $350 so I didn’t spend a lot of time on precision.
Next thing to consider: the nut and bridge spacing. If you bring the nut string spacing in slightly it could open up some space between the 4th and 5th string and get much closer to equal spacing.
Third consideration: the tailpiece could be shifted over to the right about 1/8” and this would also get that spacing more uniform.
Fourth consideration, if your homemade nut and bridge spacing is different (wider) than mine then it could be contributing.
I’m looking at the other customer submitted photo above and see there is a little bit of a string spacing issue but it’s not quite as noticeable as on your banjo. Every banjo is handmade and I hope these little quirks are more charming than annoying.
I hope you continue to enjoy your kit regardless and I’m glad you provided your feedback here for things I can improve in the future.August 14, 2024 at 8:58 pm #5620ParticipantOh yeah any quirks are definitely more charming than annoying considering the amazing price for such an instrument.
I tried to make the nut and bridge match the provided ones, but my craftsmanship is still a bit rough. I had not considered shifting the tailpiece though, I think I will do that. Thanks again.
-
AuthorPosts

- You must be logged in to reply to this topic.